Relief carving, one of the oldest and most enduring forms of artistic expression, is a fascinating intersection of sculpture and illustration.
It is the art of breathing life into a flat piece of wood, transforming it into a storytelling canvas. Whether it’s a tranquil woodland scene, a mythical creature, or a set of intricate patterns, relief carving turns the ordinary into the extraordinary.
But how does a simple piece of timber transform into a compelling piece of art? In this guide, we’ll venture into the mesmerizing world of relief carving, teaching you how to transform your vision into reality step-by-step.
Types of Relief Carving
Low Relief (Bas-Relief)

Bas-relief, or low-relief carving, is a technique in which the design gently emerges from the background, typically rising to less than half its total depth.
This technique, marked by its subtlety, is ideal for novice carvers or projects necessitating a soft impact. The essence of mastering bas-relief carving lies in your ability to craft a delicate depth and seamless transition between the design and its background.
High Relief
In high relief carving, the design projects further off the background than in low-relief, usually between 1/2″ and 2″ in depth.
This style demands more attention to detail and adds depth and dimension to your work. As you work on a high-relief carving, you’ll need to carefully shape each design element to ensure it has the desired depth and visual impact.
Deep Relief Carving

Deep relief carving involves carving depths of more than 2″ and gives an even deeper depth impression when compared to high relief. This type of carving requires more skill, patience, and time as the carver must carefully remove the excess material to create the design, ensuring that it stands out against the background.
When tackling a deep relief carving, plan your design and take your time to achieve the desired depth and intricate details.
Pierced Relief

Pierced relief is a unique form of relief carving where parts of the design are cut through the material entirely, creating open spaces or “piercings.”
This style can make your project stand out and add a sense of airiness to your work.
When creating a pierced relief carving, ensure that your design elements have the necessary support structure to keep them connected to the background and maintain the overall integrity of the piece.
Sgraffito
Sgraffito is where a design is created by scratching or carving through a surface layer to reveal a contrasting layer beneath. This technique is often used in pottery, plasterwork, and masonry, but can also be applied to wood carving when using contrasting wood veneer layers or paint.
When working on a sgraffito project, use a fine tool to delicately remove the layers and reveal the design underneath, being careful not to damage the lower layer.
Types of Wood to Use
Choosing the right type of wood is essential. Generally, it’s best to use softwoods, like basswood, butternut, or white pine.
Click here for our recommended basswood blocks for a great carving experience.
These are easy to carve and are excellent for beginners. However, if you’d like to work on something more durable or eye-catching, consider using hardwoods like mahogany or cherry.
Jelutong is another great option for delicate detailing work. Remember that the wooden panel you use should have a smooth surface, making it easier to apply your design.
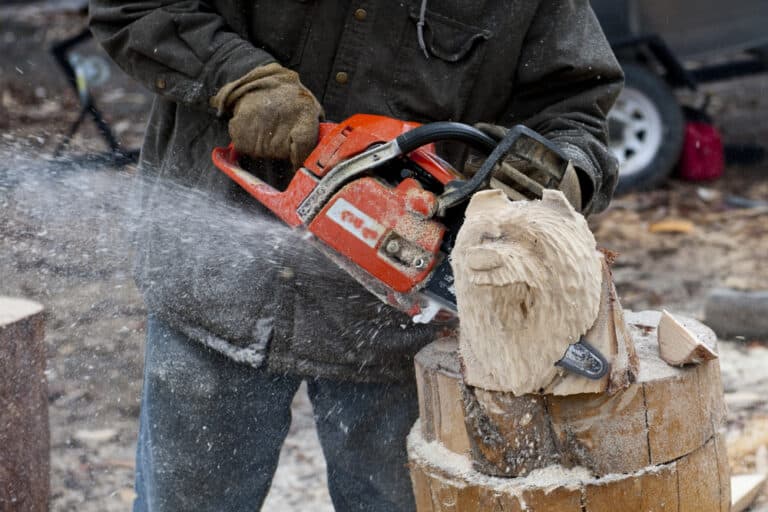
Essential Relief Carving Tools
To start your relief carving journey, you’ll need a few essential tools:
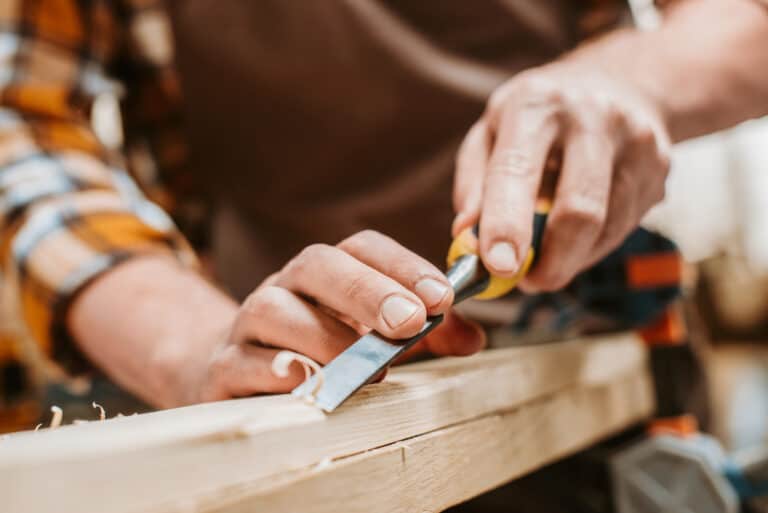
- Chisels are necessary for cutting away the wood and creating different shapes. You’ll want a variety of sizes and types, such as straight, curved, and V-shaped chisels. See our top wood carving chisels.
- Gouges: A gouge is a curved chisel, often used for creating deep cuts, hollows, or smooth surfaces. Like chisels, you’ll need a variety of sizes and shapes, including spoon gouges and V-shaped gouges.
- Mallet: Use to tap the chisel or gouge gently. This gives you more control and power when carving.
- Whittling Knife: This is ideal for finer details and can be used for basic whittling if you’re also interested in that hobby.
- Bench Hook: A bench hook helps to secure your wooden panel in place, making it easier to carve without the block moving around.
Types of Gouges and Chisels
To achieve versatile designs and intricate details, you’ll need various gouges and chisels, including:
- Straight Chisel: This is a flat, straight-edged tool used for general carving and creating crisp lines.
- Curved Chisel: With its curved edge, this tool is perfect for creating rounded shapes and contours.
- V-shaped Chisel: Also known as a V-tool, this chisel is excellent for making sharp cuts and outlines in your design.
- Spoon Gouge: A curved and rounded shape allows smooth, deep cuts.
- V-shaped Gouge: Similar to the V-shaped chisel but with a curved edge, this gouge helps make clean, precise stop cuts.
Relief Carving Techniques and Design
The Use of Curves
It’s important to incorporate curves to create smooth and fluid designs. Start by practicing drawing curves on paper, then transfer those designs onto your wood.
Remember, as a relief carver, you’re working on a flat surface, so you’ll need to carefully plan and execute your curves to achieve the desired effect.
Work with gouges and skew chisels to create the intricate curves that define relief carvings. The more you practice your curve technique, the better your designs will become.
Undercutting
Undercutting is a technique used in relief carving to create depth and enhance the overall appearance of your design. Use a skew chisel and carefully chip away at the base of the design, lowering the background while keeping the carved details at a higher level. This will create the illusion of depth, making your carving pop out and appear more lifelike.
Shadowing
One of the key techniques in relief carving is creating effective shadows to add depth and dimension to your work. By carefully undercutting and shaping the various elements of your design, you can create natural-looking shadows that emphasize the details.
When sculpting wood, consider the direction of the light source to help establish how each part of your piece should be shaped and positioned to create realistic shadows.
Creating Depth and Detail
Creating depth and detail in your relief carving requires careful planning and design considerations. When deciding on your pattern or design, think about how you’ll use the thickness and depth of your carving to create a more pronounced effect.
Your carving should include different levels of detail, from broad strokes to intricate elements, to keep the viewer engaged.
Pyrography
Pyrography, also known as woodburning, is the art of using heat to create designs and patterns on the wood’s surface. It can be used with relief carving to add texture, depth, and visual interest to your projects.
To start with pyrography, you’ll need a pyrography pen, which is a tool that heats up and allows you to burn designs into the wood. Begin by transferring your desired pattern onto the wood, and then use the pyrography pen to burn the design into the surface, adjusting the heat settings as needed for darker or lighter lines.
Remember to work in a well-ventilated space, as the process can produce smoke and fumes. As you get more comfortable with pyrography, you can experiment with different tips and techniques to create various effects.
Tips to Get Started
First, invest in the right tools for your project as outlined earlier in the article.
Next, choose a suitable design for your project. You can find many patterns online or create your own. Once you have a design, transfer it onto your wood panel using carbon paper.
When preparing your wood, consider the depth of your desired carving. As a general rule of thumb, low-relief carvings have a depth of less than ½ inch, while high-relief carvings range from ½ inch to 2 inches.
As you begin carving, remember to:
- Remove excess material from the edges of the pattern
- Outline the depth of the project
- Focus on detailed carving
- Even out the background
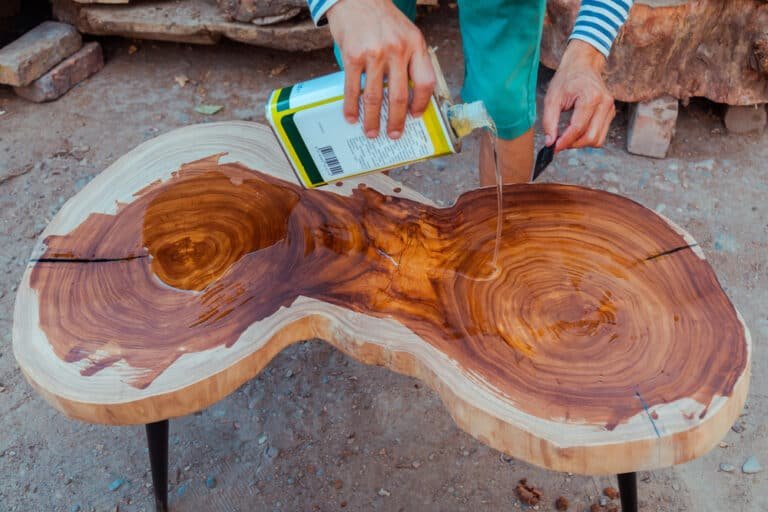
Finally, sand your project to smooth out the details, outline, and background.
Throughout your relief carving experience, don’t forget to practice on a practice board to try out different cuts, strokes, and techniques. With time and dedication, your skills will improve. Enjoy the process and happy carving!