Are you looking for a thrilling and unconventional way to bring your artistic wood carving vision to life? Look no further than chainsaw carving!
This unique skill is both exciting and accessible to beginners.

In this article, we’ll guide you through the basics of beginner chainsaw carving and provide valuable tips to ensure your success.
With practice and perseverance, you’ll be amazed at the stunning pieces you can create and the awe you’ll inspire in your loved ones.
Don’t wait any longer to dive into the world of chainsaw carving!
Required Personal Protective Equipment
First, you must prioritize your safety by wearing the appropriate personal protective equipment.
This section will discuss the key protective gear you need to ensure your safety while carving.
Safety Glasses
While using a chainsaw, your eyes are one of the most vulnerable parts of your body.
Wearing safety glasses is crucial to protect your eyes from flying wood debris and sawdust.
Make sure to choose safety glasses that are a good fit, so they stay in place while carving.
Hearing Protection
Chainsaws produce loud noises that can harm your ears, so wearing hearing protection is necessary.
Protective earmuffs or earplugs will help you prevent hearing loss while using a chainsaw.
Choose the one that’s most comfortable for you, and make sure it provides adequate noise reduction.
Chainsaw Chaps
One of the most common injuries while using a chainsaw is to the legs, so wearing chainsaw chaps is essential.
Chaps are designed to protect your legs from accidental contact with the chainsaw. Choose chaps made of strong, durable materials that fit comfortably over your clothing.
Safety Gloves
High-quality safety gloves protect your hands from potential cuts, splinters, and vibrations.
Special woodworking gloves provide a firm grip and are designed to minimize the risk of injury.
Ensure you choose gloves that fit well, are comfortable, and offer adequate protection.
Steel Toe Boots
Protecting your feet and toes is also essential while chainsaw carving.
A pair of steel-toed boots provide added protection from accidental contact with the chainsaw and help keep your feet safe from falling wood pieces.
Make sure you choose boots with non-slip soles and a comfortable fit.
By wearing the appropriate PPE and following safety precautions, you can safely minimize the risks associated with chainsaw carving and enjoy this creative hobby.
Finding the Right Chainsaw
It is crucial to find the right wood carving chainsaw for your needs. As a beginner, go for a smaller chainsaw, preferably 14 inches or less.
This makes the tool more manageable and helps you to gain confidence as you work on smaller pieces of wood.
Consider the chain pitch size, which directly affects the detail you can achieve in your carvings.
Smaller pitch sizes, such as 1/4 inch or 3/8 inch, are more suitable for intricate work. Make sure to choose a chain with low kickback potential to reduce the risk of injury.
Next, think about the power source of your chainsaw. Chainsaws come in gas, electric, and battery-powered options. Each type has pros and cons, so evaluate your working environment and personal preferences to make the best choice.
Gas-powered chainsaws offer more power, but they are also heavier and noisier. Electric and battery-powered chainsaws are quieter and emit fewer emissions but may have less power and limited mobility.
Finally, take note of the chainsaw’s weight and ergonomics. A lighter chainsaw will be easier to maneuver, reducing fatigue and allowing for better control over your carving.
Look for features such as comfortable handles, good balance, effective vibration-dampening systems, and easy access to controls to ensure a safe and enjoyable carving experience.
Selecting the Right Wood
Hardwood vs. Softwood
When starting your chainsaw carving journey, choosing the right type of wood is crucial. Due to its density, hardwood, such as oak or maple, can be challenging to carve for beginners.
On the other hand, a softwood like redwood is an excellent choice as it’s easier to carve, allowing for smoother cuts and better control.
Additionally, softwoods have a straight and consistent grain, which makes them less likely to crack or split while being carved.
Wood Preparation
Before you start chainsaw carving, it’s essential to prepare the wood. Begin by drawing your design on the wood’s surface.
It’s helpful to create scale drawings with a center line down the middle and grid markings to make transferring your design onto the wood easier.
Draw two outlines (one from the front and one from the side) to make carving even more straightforward later on.
Once your design is on the wood, use a chainsaw to trim down any unnecessary parts that will not be part of your carving.
This will make the carving process more manageable and allow you to focus on the details of your design.
Proper Drying
The drying process is a critical aspect of successful chainsaw carving.
If the wood is too wet, your carving will be challenging to work on, and if it’s too dry, it could crack during the carving process.
Allow your wood to air dry until it reaches a moisture content between 12% and 18%.
An affordable moisture meter can help you check the moisture content before you start carving.
Store the wood in a cool, dry place, away from direct sunlight, and make sure it’s adequately supported to prevent warping as it dries.
Basic Chainsaw Carving Techniques
In this section, we’ll explore some essential techniques to help you get started with chainsaw carving.
We’ll cover plunge cuts, two-handed cuts, detailing, and putting the finishing touches on your masterpiece.
Remember, practice makes perfect, so don’t be afraid to refine your skills as you go.
Plunge Cuts
Plunge cuts are a fundamental skill in chainsaw carving. This technique involves using the tip of your chainsaw to create an angled, downward cut into the wood. To make a clean plunge cut, follow these steps:
- Position your chainsaw at the desired angle.
- Turn on the chainsaw and let it reach its full speed.
- Slowly and carefully push the tip of the chainsaw into the wood at the desired location, maintaining the angle throughout the cut.
- Retract the chainsaw once you’ve reached the desired depth.
Practice your plunge cuts on scrap wood until you’re confident with the technique and can make smooth, controlled cuts.
Two-Handed Cuts
Two-handed cuts involve holding the chainsaw with both hands while cutting, providing you with greater control and accuracy.
This technique is especially helpful when carving intricate details. To perform a two-handed cut, grip the chainsaw firmly and maneuver it slowly and deliberately through the wood.
Remember to maintain a firm grip and use your whole body to guide the saw, not just your arms.
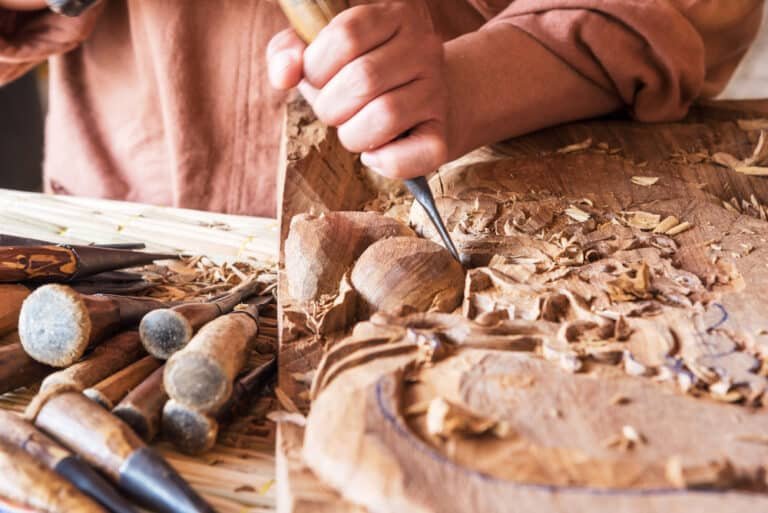
Detailing
Detailing is crucial to give your carving a polished and lifelike appearance.
For this step, you’ll need a smaller chainsaw or a carving bar to make intricate cuts.
Use reference pictures to guide your detailing process, and always plan your cuts before making them.
Take your time, and remember that less is often more when it comes to adding fine details.
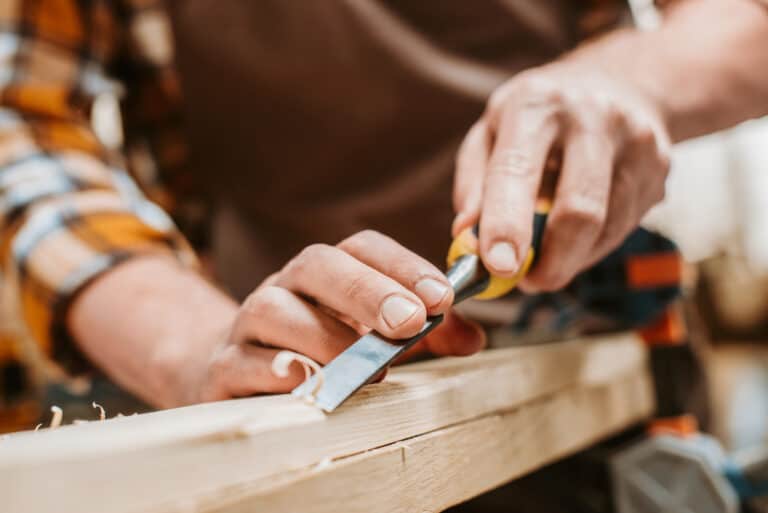
Finishing Touches
Once you’ve completed the carving and detailing, it’s time to add the finishing touches.
Smooth any rough edges and remove any remaining rough bark from your carving.
You can use sandpaper or a finer chainsaw attachment for this step.
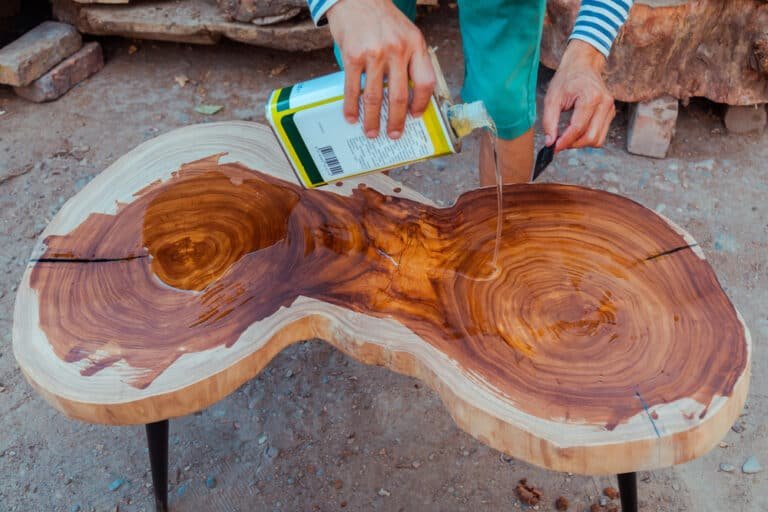
Finally, protect your creation by applying a coat of sealer or wood preservative to the surface. This will help ensure your carving lasts for years to come.
Common Beginner Projects
As a beginner, start with manageable projects to gain confidence in chainsaw carving.
Below we have outlined four common beginner projects you can create with simple chainsaw carving techniques.
Bears
Bears are popular for novice chainsaw carvers because of their recognizable silhouette and limited detail requirements.
To get started:
- Select a sturdy piece of wood and a basic bear template.
- Use your chainsaw to make cuts from the front and side perspectives, carving the bear’s body, legs, and head. As you become more comfortable with your chainsaw, you can add facial features and fur texture to create a more lifelike depiction.
- Check out this tutorial for a simple bear carving in a stump:
Birds
Carving birds with chainsaws presents an excellent opportunity for beginners to practice their technique on a smaller project.
Choose a simple bird design, such as a swooping sparrow or a perched robin, and follow the outline with your chainsaw.
As you become more skilled, you can create a variety of birds in various sizes and poses to showcase your growing expertise.
Mushrooms
Mushrooms are a relatively simple subject for chainsaw carving, making them perfect for beginners.
With their straightforward shapes and minimal details, learning this project won’t take much time.
Using your chainsaw, carefully carve the stem and cap of the mushroom, ensuring a smooth transition between the two.
Once you master the basics, experiment with different mushroom species and sizes to create a unique collection.
Owls
Owls are another popular beginner carving project due to their recognizable features and limited complexity.
Begin by selecting a piece of wood and an owl template, then use your chainsaw to carve the general shape of the owl’s body, wings, and head.
As you gain confidence in your chainsaw carving abilities, add details such as facial features and feather patterns to create more intricate and realistic owls.
Remember, practice makes perfect, so don’t be afraid to tackle new projects and refine your chainsaw carving skills.
With time and persistence, you’ll soon be creating stunning works of art in no time!
Maintaining Your Chainsaw
Proper maintenance of your chainsaw is essential for safe and efficient carving. In this section, we’ll go over some key aspects of chainsaw maintenance, including sharpening the chain, cleaning, and proper storage.
Sharpening the Chain
Keeping the chain sharp is crucial for efficient carving and preventing accidents. A dull chain can cause the chainsaw to kick back or get stuck in the wood. To sharpen your chain, follow these steps:
- Turn off your chainsaw and disconnect it from the power source (if it’s an electric chainsaw).
- Check your chainsaw’s manual for your specific model’s correct file size and depth gauge setting.
- Secure the chainsaw in a vise or sturdy work surface to prevent movement while sharpening.
- Using a round file and file guide, file each tooth following the manufacturer’s recommendations, maintaining consistent pressure and angle while filing.
- After sharpening all the teeth, use a flat file and depth gauge guide to adjust the depth gauges to the recommended setting.
Remember to sharpen your chainsaw regularly to ensure optimal performance.
Cleaning
Cleaning your chainsaw after each use will help prolong its life and keep it in good working condition.
Remove debris, such as wood chips and sawdust, from the chain and the guide bar.
Use a brush or compressed air to clean the cooling fins, air filter, and the area around the spark plug. Replace the air filter and the spark plug as needed.
Proper Storage
When storing your chainsaw for an extended period, follow these storage guidelines to maintain its condition and functionality:
- Drain the fuel from the tank and allow the chainsaw to run until it stops to remove any residual fuel in the carburetor (for gas-powered chainsaws).
- Remove and clean the chain and guide bar. Apply a light coating of oil to prevent rust.
- Store the chain and guide bar separately in a protective sheath or case.
- Store the chainsaw in a dry, well-ventilated area, away from direct sunlight and extreme temperatures.
Follow these maintenance tips for safe and efficient chainsaw carving.
Joining the Chainsaw Carving Community
As a beginner to chainsaw carving, you might be looking for ways to connect with fellow enthusiasts, learn from experienced carvers, and showcase your skills. Let’s explore some ways to get involved with the chainsaw carving community.
Online Forums
Participating in online forums is an excellent way to ask questions, exchange ideas, and share your work with others who share your passion.
In these forums, you can find advice from seasoned carvers and beginners. Some popular online chainsaw carving forums include Arbtalk and Woodcarving Illustrated.
Join these forums and start contributing to the discussions to expand your knowledge and network within the community.
Local Workshops
Hands-on learning and face-to-face interaction can benefit your growth as a chainsaw carver.
Local workshops allow you to connect with other carvers in your area and learn from their techniques. To find workshops near you, check out local community centers, art schools, or woodworking shops that offer classes or events related to chainsaw carving.
Competitions
If you’re feeling confident in your chainsaw carving abilities and want to showcase your talent, consider participating in chainsaw carving competitions.
These events allow you to compete with fellow artists and receive feedback from judges and spectators.
Many competitions are open to carvers at all skill levels, including beginners. Some popular chainsaw carving competitions include the Huskycup and the Chetwynd International Chainsaw Carving Championship.
Remember, your journey into chainsaw carving is an exciting adventure.
Engaging with the community provides invaluable learning opportunities and connections that can help you grow as an artist.
So, don’t hesitate to join online forums, attend local workshops, and participate in competitions to fully immerse yourself in this unique art form!