If you are just getting started in wood carving, choosing a soft wood can be a good way to go. It makes things a lot easier and allows you to practice basic carving techniques.
In this article, I will share some of my favorite woods for carving that are also extremely soft. I hope you find it valuable.
5 Softest Woods for Carving
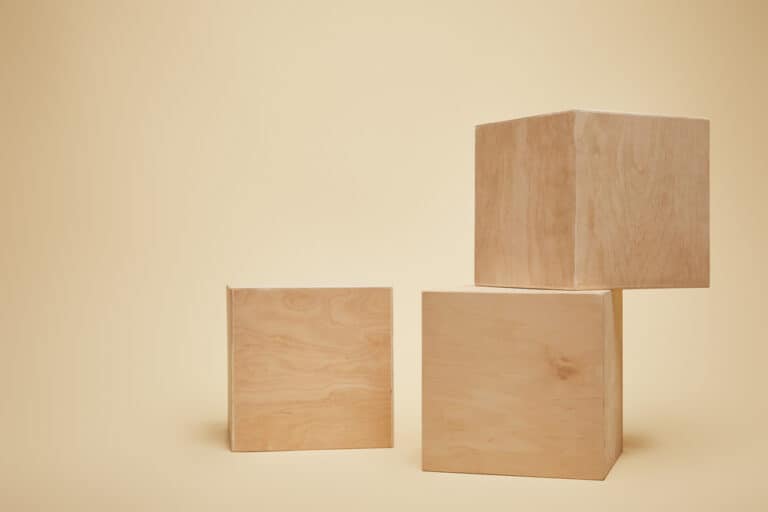
1. Basswood
Basswood is widely considered one of the best options for wood carving projects. Basswood is exceptionally soft and easy to work with, making it perfect for beginners.
You’ll find that it has a fine, even grain, which is perfect for detailed carvings. Basswood is lightweight and may require some support if used for larger projects.
2. Balsa Wood
Balsa is another soft, lightweight wood perfect for carving. With its lower density, this wood is particularly suitable for less intricate projects or practice.
Choose balsa wood pieces with minimal knots, grains, or insect holes to ensure a smooth carving experience.
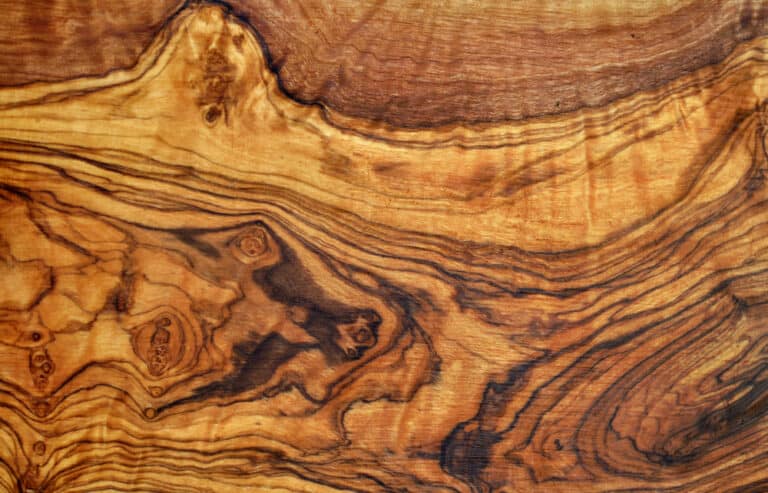
3. Butternut
Butternut is soft and easy to carve with noticeable grain patterns. This wood offers a beautiful appearance and is great for decorative projects.
Butternut is resistant to splitting, which allows for more intricate designs. However, it’s essential to be cautious with your cuts, as the wood tends to be brittle.
4. Aspen
Aspen wood is another suitable option for carving, particularly for those just starting their wood-carving journey.
This wood is soft and nearly grain-free, making it easy to achieve a smooth finish. Aspen’s light color offers a substantial contrast for stain and paint finishes, highlighting your carving details.
5. White Pine
White pine is a fantastic option for larger carving projects due to its size and soft texture. The wood has a subtle grain pattern, allowing for smooth cuts and an easy-to-manage carving experience.
Although not as soft as basswood, white pine provides enough flexibility for detailed carvings. Take care to avoid splitting, as white pine can be sensitive to pressure.
Characteristics of Soft Woods
Grain Structure
When working with softwoods, you’ll notice that their grain structure is generally more uniform and less dense than hardwoods. Their even grain structure makes softwoods easier to carve and shape. The grain direction also plays a crucial role in carving as going with the grain allows for smooth, effortless cuts.
Texture
The texture of softwoods is generally smoother, which contributes to the final appearance of your carving project. As you work with these woods, you’ll find that they produce a smooth finish without requiring excessive sanding. This saves time and helps maintain the finer details of your carving.
Hardness
Softwoods are, by definition, easier to work with due to their lower hardness rating. You can shape and carve them with less force, allowing for greater control and precision. Some of the softest woods to carve include balsa, basswood, butternut, white pine, and cedar.
Here’s a brief list of softwoods and their characteristics:
| Wood | Hardness | Grain Structure | Texture |
|---|---|---|---|
| Balsa | Very soft and lightweight | Even and uniform | Smooth and easy to carve |
| Basswood | Soft | Straight and even | Smooth, making it ideal for intricate projects |
| Butternut | Soft | Fine and straight | Smooth and easy to work with |
| White Pine | Soft | Uniform, with visible growth rings | Smooth, with a slightly resinous texture |
| Cedar | Soft to moderately hard | Straight to slightly patterned | Aromatic and resistant to decay |
Remember that each softwood has unique properties, and choosing the right one for your project will depend on your preferences and the level of detail you desire in your carving.
Carving Tools for Soft Woods
With softwoods like balsa, basswood, butternut, white pine, and cedar, having the right tools will make your carving experience enjoyable and successful. This section will discuss the essential carving tools you’ll need for your soft wood projects.
Carving Knives
Carving knives are the backbone of any wood carving project. They’re versatile and allow you to shape and cut the wood precisely. When selecting a carving knife, make sure it has:
- A sharp blade for clean cuts
- A comfortable handle for extended use
- A strong construction for durability
You may also want to invest in a spoon carving knife, which is explicitly designed for scooping out concave shapes like the bowls of spoons.
Chisels and Gouges
Chisels and gouges play a significant role in softwood carving as well. Here’s a brief overview of the different types:
Chisels:
- Used for removing larger pieces of wood
- Flat and straight-edged for clean, smooth surfaces
Gouges:
- Curved and scoop-shaped for creating concave shapes
- Come in different sizes and curvatures for a variety of shapes and depths
Both chisels and gouges are available in various profiles and sizes, so choose the ones that fit your specific carving needs.
Mallets
Mallets are used with chisels and gouges to apply force and control. They allow for a more precise and controlled carving process. When selecting a mallet, look for:
- A comfortable grip
- The appropriate size and weight for your specific tools and project
- Durability, so it lasts for many carving sessions
Techniques for Carving Soft Woods
When working with soft woods like balsa, basswood, butternut, white pine, and cedar, it’s essential to use the proper carving techniques. This section will discuss three popular techniques: Relief Carving, Whittling, and Chip Carving.
Relief Carving
Relief carving is a technique where you remove wood to create a raised design. To start, choose a design and transfer it onto your wood blank. With a sharp knife or gouge, cut along the outline of your design, angling your cuts away from the surface.
Pay attention to the wood grain as you continue carving and adjust your cuts accordingly, as soft woods can be delicate. Use shallow cuts at first and gradually deepen them until the desired depth is achieved. Remember to keep your tools sharp, as this will make carving much easier and help prevent tear-out.
Whittling
Whittling is a carving method that uses a knife to shave away wood in small, thin pieces. When working with softer woods, it’s important to have a sharp knife to make smooth cuts. Here are some tips for whittling soft woods:
- Use a light touch and short strokes, as soft woods can easily chip or splinter.
- Follow the grain of the wood to avoid tear-out.
- Use different knife grips, such as the thumb push or the pull stroke, depending on your design requirements.
Chip Carving
Chip carving involves removing small chips of wood to create patterns, designs, or textures. To do this, use a chisel or a specialized chip carving knife. Here are some guidelines for chip carving with soft woods:
- Plan your design ahead of time by sketching it onto the wood surface.
- Use a light touch and control your cuts, as softer woods can easily split or chip.
- Start with shallow cuts and gradually deepen them, following the grain of the wood.
- Keep your tools sharp to achieve clean and crisp edges.
Finishing Techniques
After carving your soft wood masterpiece, it’s time to apply the finishing touches to make your artwork durable and visually appealing.
Sanding
To achieve a smooth surface, start by sanding your carving. Use a fine-grit sandpaper (180 to 220 grit) to gently remove any rough spots, tool marks, or carving imperfections. When sanding, be sure to follow the grain of the wood and avoid applying too much pressure to prevent damaging your work.
Sealing
Sealing your wood carving protects it from moisture, dirt, and everyday wear-and-tear. To properly seal your carving:
- Choose a suitable wood sealant or finish, such as oil, varnish, or wax.
- Apply a thin, even coat using a brush or cloth.
- Allow the sealant to fully dry before handling your carving.
Reapply sealant as needed to maintain the protective layer.
Painting
If you want to add color to your carving, consider these tips when painting:
- Prime your carving with a wood primer to ensure proper paint adhesion and durability.
- Use acrylic paints for an easy-to-work-with medium that dries quickly and offers a wide range of colors.
- Apply multiple thin coats, allowing each layer to dry before adding the next.
Remember to let your paint dry completely before handling or sealing your carving.
Staining
Another option for enhancing the natural beauty of your carving is staining. Follow these steps:
- Choose a wood stain color that complements your carving and your desired appearance.
- Apply the stain using a brush or cloth, following the grain of the wood.
- Wipe away any excess stain with a clean cloth.
- Allow the stain to dry according to the manufacturer’s instructions.
Once your stain is dry, seal your carving to protect the stained surface.