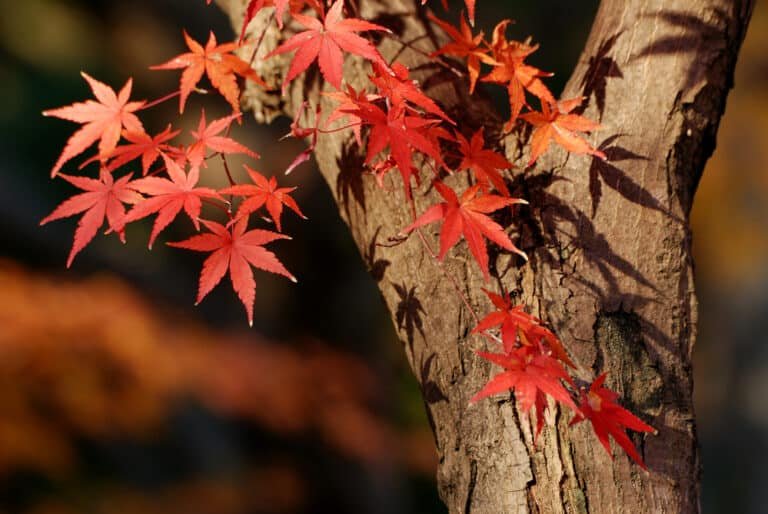
Mahogany is excellent for carving due to its fine grain, workability, and durability, which allow for detailed work and a high-quality finish.
I’m a big fan of using Mahogany – its so beautiful and relatively straightforward to work with. Below I’ll dive into some of the pros and cons plus how I use it.

See my favorite woods to carve
Pros of Using Mahogany for Carving
- Workability: Mahogany is a medium-hardwood, which means it is not too hard to carve but also not too soft to lose detail. The balanced hardness offers a comfortable carving experience, allowing you to create intricate designs with ease.
- Durability: Mahogany is well-known for its natural resistance to decay and rot. This means that your carved mahogany pieces will last a long time, and you don’t have to worry about them getting damaged quickly.
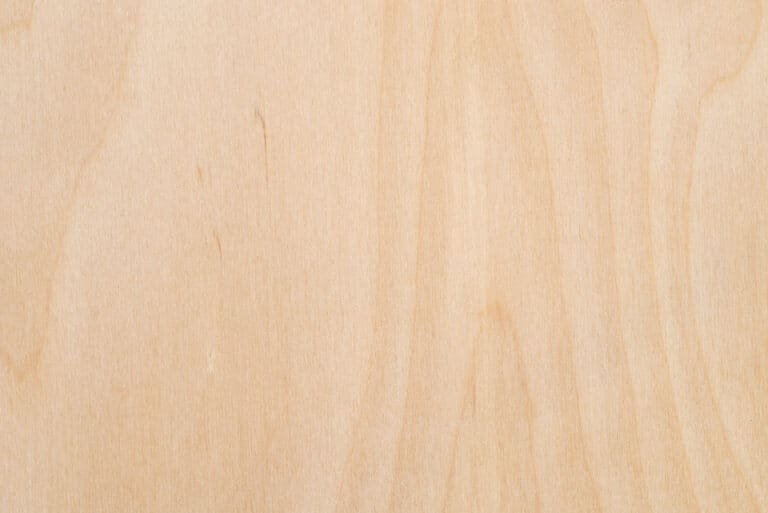
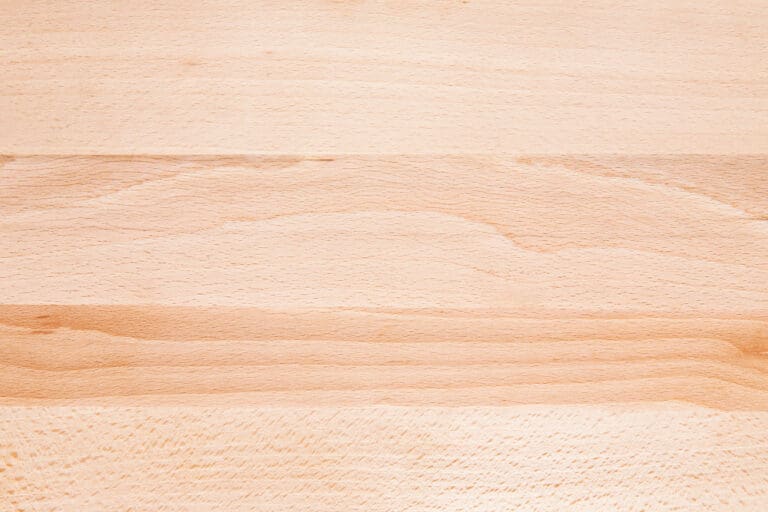
- Beautiful Aesthetics: Mahogany has a stunning reddish-brown hue, which, when paired with its fine grain pattern, creates an attractive finish. It looks great with just a coat of oil or a clear finish, enhancing the natural beauty of your carvings.
- Stability: Mahogany maintains its shape well and doesn’t easily warp or twist, crucial factors for your carved pieces. This stability ensures that the details of your carving will be preserved and eliminates the need for constant adjustments.
Here’s a quick summary of mahogany’s strong points:
| Workability | Durability | Aesthetics | Stability |
|---|---|---|---|
| Medium-hard | Resistant | Beautiful | Strong |
To make the most out of mahogany’s characteristics, be sure to use sharp tools and practice proper carving techniques. By doing so, you’ll unlock the full potential of this beautiful material and create stunning, long-lasting carvings.
Cons of Using Mahogany for Carving
- Expensive
- Some species are endangered, leading to environmental concerns
- The interlocked grain and hardness might cause tear-outs or chipping
- Dark color can be challenging to paint or stain
Preparing Mahogany for Carving
Before starting to carve your mahogany wood, it’s essential to prepare it properly. This will ensure a smoother carving experience and help you achieve the best results. First,
1. Select a suitable piece of wood. Mahogany is known for its beautiful, rich color and tight grain pattern, which makes it ideal for carving.
2. Inspect it for any defects. Look for knots, cracks, and other imperfections. You can use a wood plane or sandpaper to even out any rough surfaces.
3. Determine the direction of the wood grain before beginning your carving. This is crucial as carving against the grain can cause splintering and breakage. To identify the grain, observe the lines running through the wood. These should dictate the direction you carve in. For better control, always carve in the same direction as the grain.
4. Create a design or pattern for your carving. You can either sketch this directly onto the wood or use a stencil. Using a pencil, lightly trace your design onto the mahogany, making sure it’s visible but not too dark, as this might be difficult to remove later.
5. Secure your wood piece during carving to prevent it from moving or sliding while you work. You can use a bench vice, clamps, or non-slip pads to hold your mahogany firmly in place. This ensures both safety and precision while carving.
Tips for Carving Mahogany
- Choose the right tools for your project. Mahogany is a dense and durable wood, so you’ll need sharp chisels, gouges, and a mallet to carve it effectively.
- Take your time: Carving mahogany can be challenging because of its density, so work slowly and steadily. This will help you get a better feel for the material in your hands and reduce the risk of mistakes.
- Maintain control: Use both hands on the tool to maintain proper control. Hold the chisel or gouge firmly in your dominant hand, and use your other hand to guide the tool. This will prevent slipping and ensure precision in your work.
- Test the depth: Before making deep cuts, test the wood’s depth with a small, shallow incision. This will give you a better idea of how much force to apply and allow you to make adjustments as necessary.
Related: Carving Black Walnut
Carving Techniques Mahogany works for
Relief carving
Create a raised design on the wood’s surface. To start, sketch your design onto the piece of mahogany, ensuring you have a clear plan. Then, using a variety of chisels and gouges, chip away the surrounding wood to leave the design standing out in relief. Remember to keep your tools sharp for the most precise and clean cuts.
Chip Carving
Often used to create geometric patterns. Begin by drawing a grid on your mahogany, which will act as a guide for your cuts. To make the required triangular cuts, use special chip carving knives and gauge your depth to maintain a consistent, clean finish. Don’t forget to practice on scrap wood to perfect your technique before moving on to your main project.
Carving in the round
This allows you to create three-dimensional sculptures. First, visualize the final piece and remove the excess wood with a band saw or coping saw. Then, using specialized tools like gouges, knives, and chisels, carve the intricate details and smooth the surfaces. Always consider the grain direction during this process to avoid splitting or damaging the wood.
Finally, remember that the finish is crucial to any woodworking project. Mahogany stands out when polished and finished to emphasize its rich, dark tones. Experiment with different stains, oils, and finishes to find the best look for your project. Sanding between coats and applying multiple thin layers will ensure a high-quality finish that brings out the mahogany’s natural beauty.
Finishing a Mahogany Carving
Once you have completed your mahogany carving, it is time to put the finishing touches on your masterpiece. To start, inspect your work closely and make sure all the rough edges and unwanted wood splinters are removed.
You can use fine-grit sandpaper to achieve a smooth surface; be sure to sand with the grain of the wood, as going against it may cause scratches.
After sanding, it is necessary to remove any dust or debris from the surface of your carving. Use a soft cloth or brush to gently wipe down the piece, ensuring that the surface is clean and ready for the next step.
Next, choose a finish that will enhance the natural beauty of your mahogany wood.
Mahogany is known for its rich, reddish-brown color, and using oil-based finishes, such as tung oil or Danish oil, can bring out its natural luster.
Apply the finish evenly over the entire surface of your carving with a cloth or brush, and follow the specific product instructions for drying times and any additional coats.
It is crucial to use an appropriate sealant or topcoat to protect your mahogany carving. This will help prevent scratches and moisture damage while enhancing the piece’s overall appearance. Common options include:
- Polyurethane: This provides a durable and resistant finish that’s suitable for items receiving regular handling or exposure to moisture.
- Shellac: It’s a natural product that creates a warm, glossy finish while emphasizing the wood’s depth and color.
- Wax: Ideal for showcasing the natural texture of wood, it’s an easy-to-apply protective layer that offers a subtle luster.
Lastly, consider adding decorative touches, such as gold leaf, to your mahogany carving to make it truly unique. Apply the gold leaf carefully to areas where you want to add emphasis or where it will enhance the design.
Mahogany Carving Project Ideas

17th Century Caribbean Furniture: In the Caribbean, mahogany was frequently used for creating elaborate furniture pieces. You’ll find that Caymanian four-poster beds, ornate armoires, and intricately carved chairs can inspire your own artwork.
Chippendale Furniture: Thomas Chippendale, a celebrated British cabinetmaker, was known for his exquisite mahogany creations. The Chippendale style is characterized by graceful lines and detailed carvings, such as ball and claw feet, and can provide an excellent example to draw upon for your work.
Chinese Chippendale: This variant of Chippendale furniture merges Oriental and Rococo motifs, often featuring pagodas, fretwork, and other Asian-inspired elements in combination with traditional Chippendale design. Take a look at this style when seeking a unique blend of Western and Eastern motifs.
Architectural Elements: Mahogany has been used in various architectural features, such as staircases, paneled walls, and fireplace mantels. Examining these applications can spark ideas for your carvings. Pay special attention to ornamental carvings on historic buildings and homes.
Remember to take notes and sketch out ideas when gathering inspiration, as it will help you refine your style and express your artistic vision when working with this luxurious medium. Don’t be afraid to think outside the box and mix different styles or themes as you develop your mahogany carving skills.
Caring for Your Mahogany Carvings
Mahogany is a beautiful and durable wood, making it perfect for creating stunning carvings. To ensure that your mahogany carvings stay in pristine condition, you should follow a few simple care tips.
Firstly, it is essential to maintain the right environment for your carvings. Mahogany can be sensitive to extreme temperatures and humidity levels, so try to keep your carvings in a space with a consistent temperature and moderate humidity. Too much heat or moisture can cause the wood to warp or crack, while too little can lead to drying and splitting.
When cleaning your mahogany carvings, avoid using harsh chemicals or abrasive materials. Instead, use a soft, dry cloth to dust off the surface gently. If needed, you can slightly dampen the cloth with water to remove stubborn dust or dirt, but dry the carving thoroughly afterward.
To protect the wood’s finish, you may want to occasionally apply a high-quality furniture polish or wax explicitly made for hardwoods. This will provide a protective barrier against moisture and dirt while enhancing the mahogany’s natural beauty and luster.
Here are a few additional tips to keep in mind when caring for your mahogany carvings:
- Avoid exposing your carvings to direct sunlight, as prolonged exposure can cause the wood to lighten or darken over time.
- Be cautious when moving or handling your carvings, as even small scratches or dents can mar the surface.
- Invest in a proper display or storage solution, ensuring that your carvings are supported and protected.
By following these simple guidelines, you can enjoy the rich beauty of your mahogany carvings for many years to come.
Frequently Asked Questions
What tools are best for hand-carving mahogany?
When hand-carving mahogany, you’ll want to use sharp tools, like gouges, chisels, and knives. Wood carving sets with various blade sizes and shapes will give you versatility. A mallet can also be helpful for tapping on your chisels and gouges.
What should I consider when buying mahogany for carving?
When buying mahogany for carving, consider factors like price, grain pattern, and moisture content. Select the piece with straight, well-spaced grain for easier carving. Ensure the wood is properly dried to prevent warping and splitting over time.
How does mahogany compare to other wood types for carving?
Mahogany is a great choice for carving as it is a stable hardwood with straight, even grain. It is relatively soft compared to other hardwoods, making it easier to carve. However, it can be more expensive than some other wood types like basswood and poplar.
What common projects are made from carved mahogany?
Carved mahogany is often used for projects like furniture, sculptures, wood reliefs, and ornamental details. Its rich color and fine grain make it an excellent option for both functional and decorative pieces.