In this comprehensive guide, we’ll cover everything you need to know about using a wood chisel for carving. From choosing the right type to mastering the proper technique.
Whether you’re a beginner or an experienced wood carver, this article will provide you with all the knowledge and skills you need to take your carving to the next level.
So grab your chisel and let’s get started!
Types of Wood Chisels
Understanding which chisel to use for what job will help you achieve the best results.
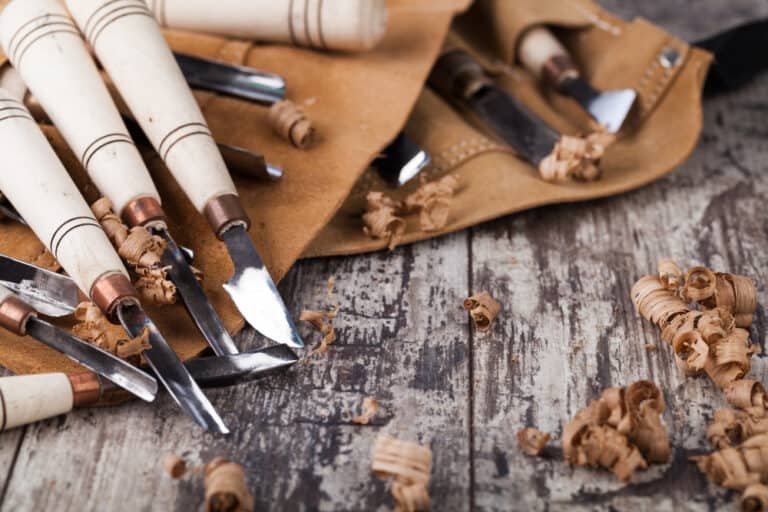
The primary types of wood chisels you’ll encounter include:
- Bench Chisels: These versatile chisels are the most common and can be used for various tasks, including paring and chopping. Bench chisels feature beveled edges for precision cutting and typically come in sets with multiple sizes.
- Mortise Chisels: Designed for cutting square or rectangular holes. They have a thicker, heavier blade than bench chisels to withstand the force required to make mortise joints.
- Pairing Chisels: Ideal for making precise, fine cuts with a clean finish. Paring chisels have a long, thin blade for delicate shavings, making them perfect for cleaning up joints or trimming excess material.
- Corner Chisels: These L Shaped chisels are ideal for cleaning up corners and removing waste material.
- Dovetail Chisels: Specifically designed for creating dovetail joints, dovetail chisels have a narrower blade than a bench chisel allowing for precise cutting in tight spaces.
When choosing a chisel for your project, consider the type of wood you’re working with and the specific task at hand. Selecting the right chisel ensures a more efficient and enjoyable experience.
Selecting the Right Chisel
It’s important to consider the type of wood, the joints you’re making, and the required precision. Here’s some guidance on choosing the perfect chisel for your needs:
First, determine the required chisel width. Wider chisels are suitable for removing large amounts of wood or creating big joints, while narrower chisels provide greater precision for detailed work.
A good starting point is to have a range of chisels from 1/2-inch to 1-inch in width.
| Chisel Type | Description |
|---|---|
| Bevel-Edge Chisel | Most versatile option, great for general woodworking tasks and cutting into tight corners |
| Mortise Chisel | Designed for chopping out mortises, featuring a thicker blade for increased durability |
| Carving Chisel | Used for detailed and intricate work, available in different shapes for various carving techniques |
| Pairing Chisel | Thin and long, ideal for cleaning grooves or a dado and precise paring tasks |
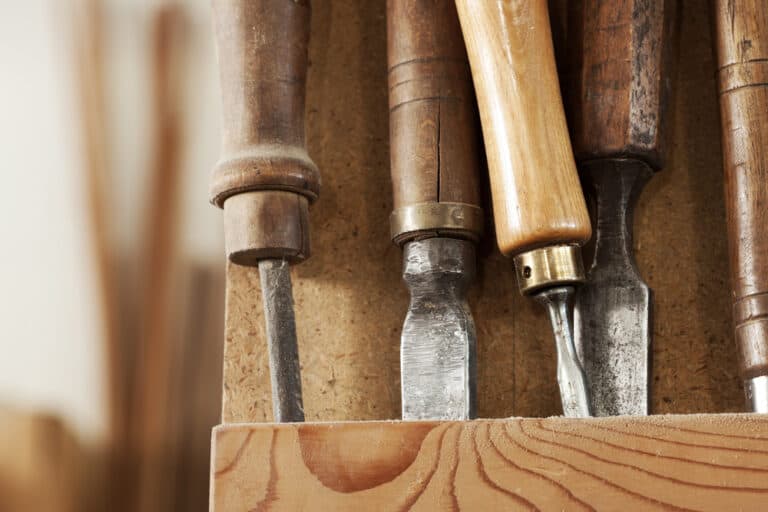
Next, consider the handle material. You’ll encounter wood and plastic handles in the market. Wooden handles offer a classic feel and better shock absorption, while plastic handles are more durable under heavy use.
Finally, don’t forget to pay attention to the quality of the steel. Higher-quality steel will hold its edge longer, allowing for clean and accurate cuts. Look for chisels made with high-carbon or chrome-vanadium steel for stellar performance.
Proper Grip Techniques
It’s crucial to hold the chisel correctly for both safety and precision. Hold the handle firmly with one hand while placing your dominant hand closer to the blade.
Your non-dominant hand should grip the handle and guide the chisel, while your dominant hand controls the cutting force.
Here are some grip techniques to follow:
- Always keep your fingers behind the cutting edge to prevent injuries.
- Choose the right size chisel for the job: smaller for detail work and larger for more significant material removal.
- Avoid using excessive force or overstriking with a mallet.
Control and Accuracy
For precise cuts and smooth finishes, maintain control over the chisel during the cutting process. Here are some tips for improving control and accuracy:
- Keep the workpiece secure by clamping it to a stable workbench.
- Bevel side should face down when cutting across the grain.
- Apply consistent and gentle pressure throughout the cut.
- Monitor your progress and adjust the angle or pressure as needed.
Remember that practice makes perfect!
Cuts and Techniques
In this section, you’ll learn about various techniques and cuts. Each technique has a unique use and can help you easily achieve your wood carving goals.
Mortise Cuts
Mortise cuts help you create square or rectangular holes in wood pieces for mortise and tenon joints. To make a mortise cut, first mark the edges of the mortise.
Holding the chisel vertically, tap gently with a mallet to make a series of deep incisions along the marked lines. Once the incisions are made, pare down the material until you reach the desired depth.
Paring Cut
A paring cut is a controlled, slicing motion used to trim or shave wood. To perform a paring cut, hold the chisel at a shallow angle, apply light pressure, and use a pushing motion to cut, ensuring to keep your hands behind the blade.
Chopping Cut
A chopping cut is ideal for removing large amounts of material quickly. Position the chisel vertically with the bevel facing down. Apply force to the handle using a mallet, making sure to cut along the grain. Continue chopping and removing wood, staying within the marked area.
Chop and Pare
Combine the techniques of chopping and paring to remove more controlled amounts of wood. First, create a series of vertical chopping cuts and horizontal paring cuts to remove the wood. This combination is excellent for the precise removal of material.
Scraping
Scraping is another technique commonly used to remove material and smooth surfaces. Hold the chisel perpendicular to the wood and push forward, removing small, thin layers of wood. For better control, hold the chisel with both hands. This is particularly difficult when scraping out dadoes.
Cleaning Joints
Cleaning joints, like the shoulders of tenons, can be done efficiently using a chisel. To clean a joint, hold the chisel vertically and tap the handle with a mallet, removing small amounts of material until the joint’s surface fits perfectly.
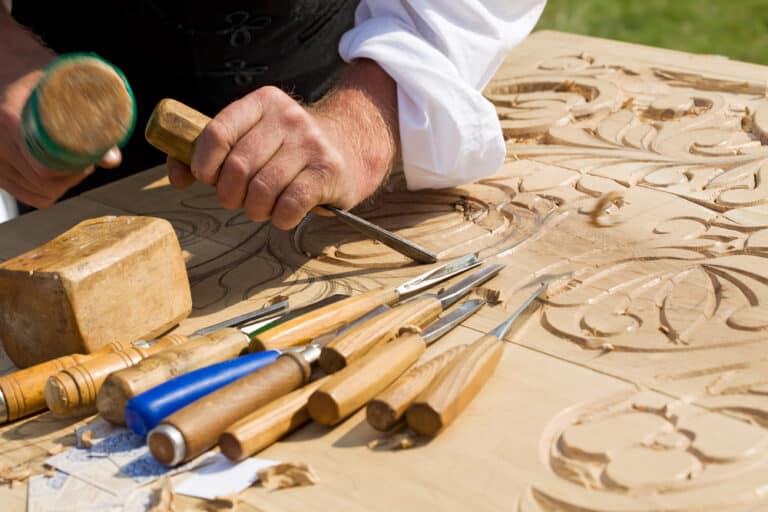
Shaping and Carving
Wood chisels can also be used for shaping and carving decorative elements. Hold the chisel at a comfortable angle and apply varying pressure to create different shapes and depths in the wood. This technique often requires practice and a steady hand to master.
Chisel Sharpening
You’ll need a sharpening stone or a sharpening system to sharpen your chisel. Follow these steps to get a sharp edge:
- Start by finding the correct angle (usually between 25 to 30 degrees). Place the chisel on the stone or system at this angle.
- Slide the chisel back and forth across the stone or system, applying moderate pressure. Make sure to maintain the angle throughout the process.
- Repeat this process until you achieve a polished, sharp edge.
Honing the Edge
After sharpening, it’s crucial to hone the chisel’s edge.
Honing refines the edge and removes any burrs or imperfections that may have resulted from the sharpening process. To hone your chisel, follow these guidelines:
- Place a fine-grit honing stone on a stable surface, like a workbench or table.
- Wet the stone with water, oil, or honing solution, depending on the manufacturer’s recommendations.
- Lay the chisel on the stone, keeping it flat against the surface. Tilt the chisel slightly to match the bevel angle.
- Stroke the chisel back and forth, applying light pressure. As you work, maintain the bevel angle.
- Continue honing until you achieve a smooth, clean edge.
- Use a leather strop to give the edge a final polish, if desired.
Remember, maintaining a sharp edge will improve cutting quality and keep you safe while working.
Safety Tips
It’s important to prioritize safety. Here are a few key tips to help you safely work with this versatile wood carving tool.
First, always wear appropriate protective gear like safety glasses, gloves, and hearing protection if necessary. This will minimize the risk of injury:
- Eye protection: Wood chips and debris can fly into your eyes when chiseling. Wear safety glasses to protect your vision.
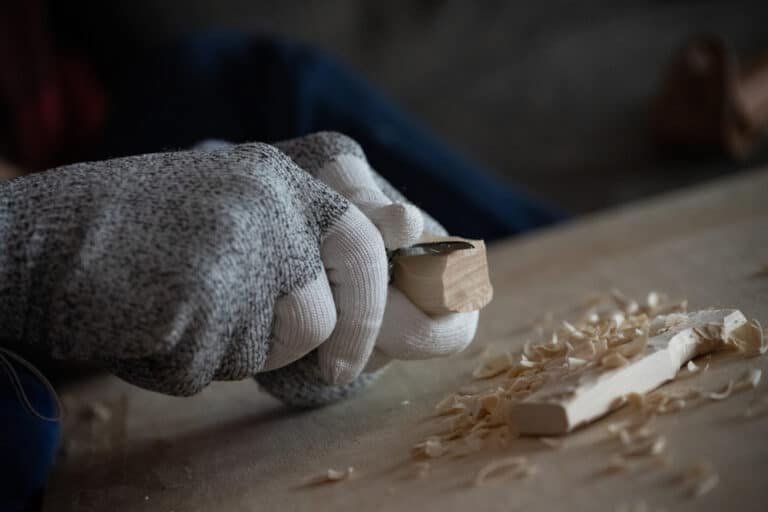
- Gloves: Wood carving gloves provide additional grip on the chisel and protects your hands from sharp edges and splinters.
- Hearing protection: Some chiseling work, especially when using a mallet, can be quite loud. Use earplugs or earmuffs to safeguard your hearing.
Next, always keep your chisels sharp. A dull chisel is more likely to slip or require excessive force, which could lead to accidents.
Regularly sharpen your chisel and hone its edge to maintain optimal performance.
When working with a chisel, make sure to secure the workpiece properly. Use a vice or clamps to hold the wood in place so it doesn’t move while working. This will provide better control over your cuts and helps prevent accidents.
Lastly, always cut away from your body. This will ensure that you won’t risk injury to your hands or body if the chisel slips or the wood unexpectedly gives way.
By following these safety tips, you can confidently use your chisel and create precise, quality work while minimizing risks.
Chisel Maintenance
Keeping your wood chisel in top condition is essential for optimal performance. Here are some tips to ensure proper chisel maintenance:
1. Keep them clean: Always clean your chisel after use. Remove any wood chips, dust, or residue from the blade and handle. You can use a dry cloth or a mild detergent and water solution for thorough cleaning. Never submerge your chisel in water, as this can cause rusting.
2. Sharpen regularly: A dull chisel is less effective and potentially dangerous. Sharpen your chisel frequently to maintain a keen edge. Use a sharpening stone or honing guide to achieve the desired angle:
- 25-degree bevel for rough work
- 30-degree bevel for general tasks
- 35-degree bevel for fine paring and slicing
Always remember to hone the flat back of the chisel as well.
3. Prevent rust: Store your chisel in a dry place and protect the metal parts with a light oil coating or a rust-preventive product to avoid rust. Periodically inspect your chisel for any signs of rust and address them immediately.
4. Handle care: If your chisel has a wooden handle, you may need to treat it to prolong its life occasionally. Oil or wax the handle to keep it in good condition and avoid splitting or cracks.
By following these maintenance tips, your chisel will remain in excellent working condition, ready for your next project.